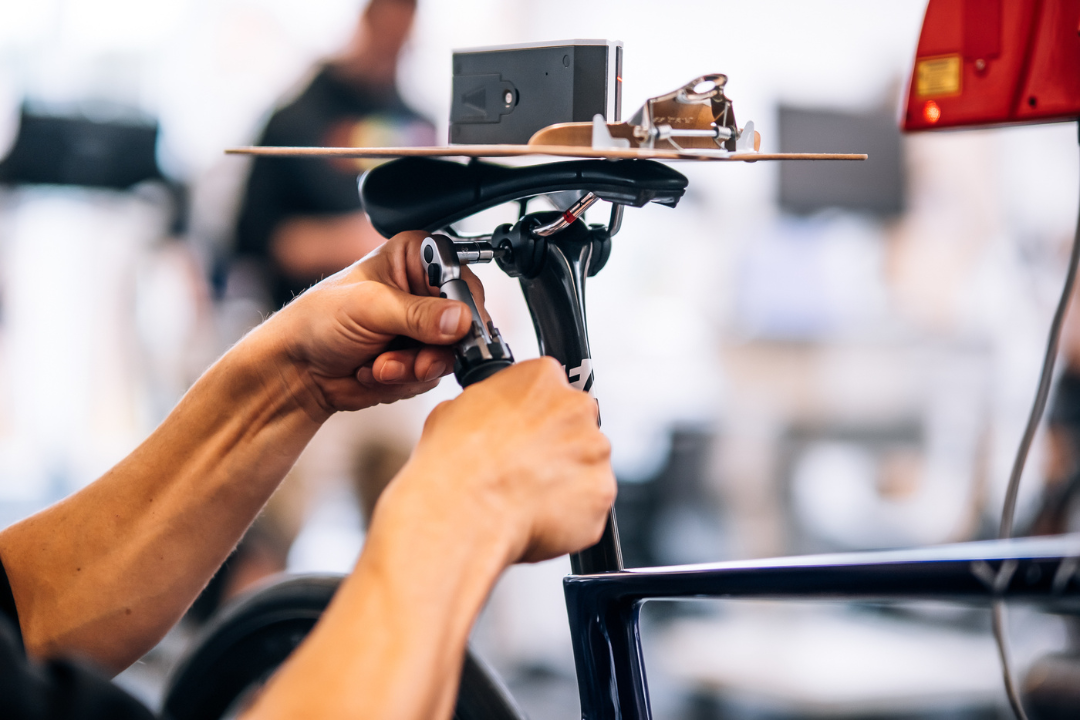
Your Bike Fit isn’t a one-and-done adjustment. Even with a professional bike fit, small changes in travel, maintenance, indoor trainer use, crashes, or component swaps can shift your position on the bike. Being able to check your key fit measurements at home can help keep you comfortable, efficient, and performing between fit appointments.
At Human Powered Health, every cyclist who completes a Bike Fit receives a digital fit report with their personalized measurements. These numbers serve as your reference guide if anything on your bike shifts over time.
Whether you’re a Human Powered Health client or simply a cyclist who wants to better understand their fit coordinates, this guide will walk you through the key measurements that matter most and how to check them at home.
A professional bike fit creates a position that balances comfort, power production, aerodynamics, and injury prevention. However, bikes are mechanical systems, and components can move over time.
Common causes of position changes include:
A couple of millimeters can make a difference in how you ride. By checking your bike fit measurements on a regular basis, you will help maintain your position as set in your professional bike fit.
Need a visual walkthrough? Watch our bike fit measurement video to see each measurement performed step by step.
Before you begin, gather the following:
Using metric measurements is recommended because most fit coordinates are recorded in millimeters.
Before taking measurements, familiarize yourself with these important landmarks:
The center of the bottom bracket serves as the origin point for most bike fit measurements. This is the center of the crank spindle where your crank arms rotate.
The Biomechanical Reference Point, or BRP, is a standardized reference point used during the fitting process.
Because saddle shapes and lengths vary significantly between manufacturers, measuring from the nose of the saddle is often inconsistent. Instead, the BRP is located at the point where the saddle reaches 70 mm in width, creating a repeatable and reliable reference location.
Many professional fitting systems, including IDMatch, use the BRP to establish saddle position coordinates.
The midpoint of the handlebar is where measurements for stack and reach are taken.
For hood measurements, use the center of the hood where the crease of your hand naturally rests while riding.
What it tells you: Functional saddle height relative to the bottom bracket.
BRP Z is the vertical coordinate of the Biomechanical Reference Point.
If your seatpost slips or is removed during travel, BRP Z is one of the primary measurements needed to restore your saddle height accurately.
What it tells you: Saddle setback relative to the bottom bracket.
BRP X is the horizontal coordinate of the biomechanical reference point.
Changes to BRP X can affect pedaling efficiency, weight distribution, comfort, and handling.
What it tells you: The distance from the center of the bottom bracket to the BRP on the saddle.
While BRP Z represents the vertical coordinate, saddle height is the direct measurement commonly referenced by riders.
A saddle that is too high or too low can reduce power output and increase discomfort during longer rides.
What it tells you: How high the handlebars are positioned relative to the bottom bracket.
Formula:
Handlebar Stack = Handlebar Height − Bottom Bracket Height
Even small stack changes can affect:
What it tells you: How far the handlebars sit in front of the bottom bracket.
Formula:
Handlebar Reach = Handlebar Distance − Bottom Bracket Distance
Changes in handlebar reach can affect:
What it tells you: The rider’s functional reach from the saddle to the controls.
This measurement often reveals changes that occur after replacing handlebars, stems, or shifters.
What it tells you: The angle of the saddle surface.
A small change in saddle tilt can dramatically affect:
Consider checking your measurements if you notice:
Many of these issues can be caused by small positional changes rather than a fundamental fit problem.
While these measurements help you maintain your current position, they do not replace a professional fit assessment.
You should consider scheduling a bike fit if:
A professional assessment can identify movement patterns and positional opportunities that static measurements alone cannot.
Your fit coordinates are the position designed specifically for your body, goals and riding style. Recording and checking your measurements every so often can help ensure that when you travel or do maintenance or change components, you don’t lose the work that was done in your professional bike fit.
By understanding BRP X, BRP Z, saddle height, handlebar stack, handlebar reach, BRP-to-hood reach, and saddle tilt, you’ll have the tools to confidently restore your fit and keep riding comfortably.
Whether you’re looking to improve comfort, optimize performance, or better understand your bike fit measurements, Human Powered Health offers comprehensive Bike Fit and Performance Bike Fit services in:
Want to get your bike fit? Schedule a consultation with the Human Powered Health team.
Human Powered Health is staffed with Master's and PhD-level performance physiologists who are dedicated to helping you improve your health and performance. Our product is a healthier you, and we have the science to make you better than ever.
Human Powered Health uses high-precision, research-grade technology for all assessments in order to provide a superior level of service and quality for anyone who wants to learn more about their health and performance metrics.
We are on a mission to power health and athletic performance for motivated humans. Your body belongs to you. You deserve accurate information about it. We give everyone the data and expertise to fine-tune their own health and athletic performance. Because knowledge is power, and true health is self-made.